Making Goat Cheese
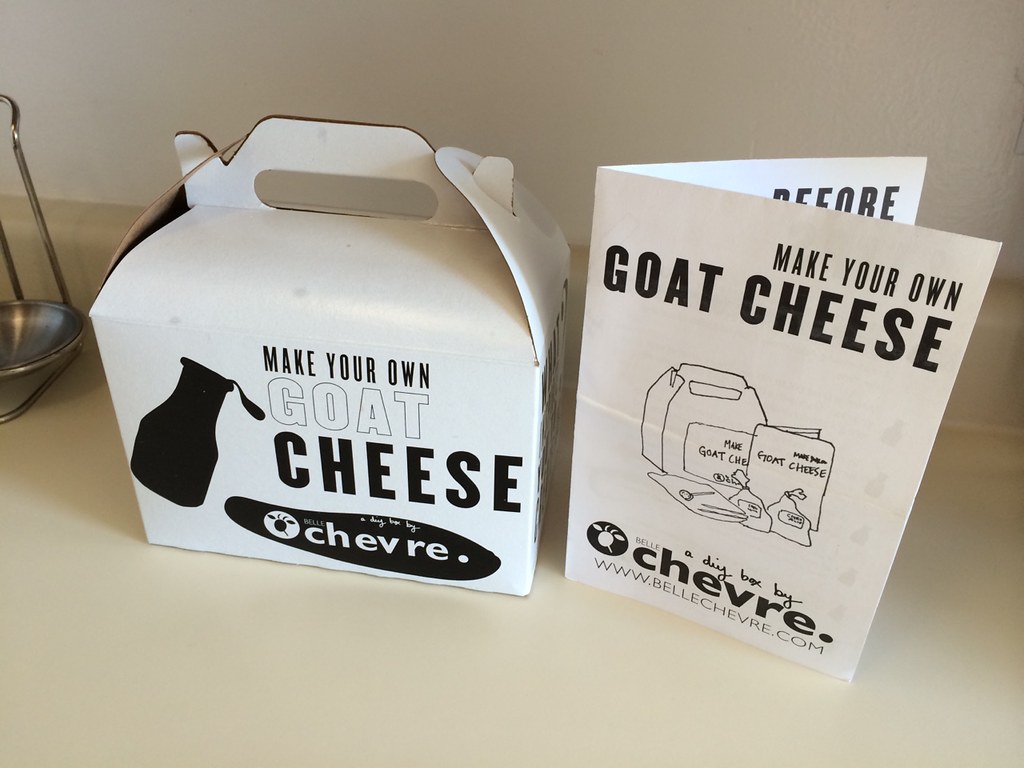


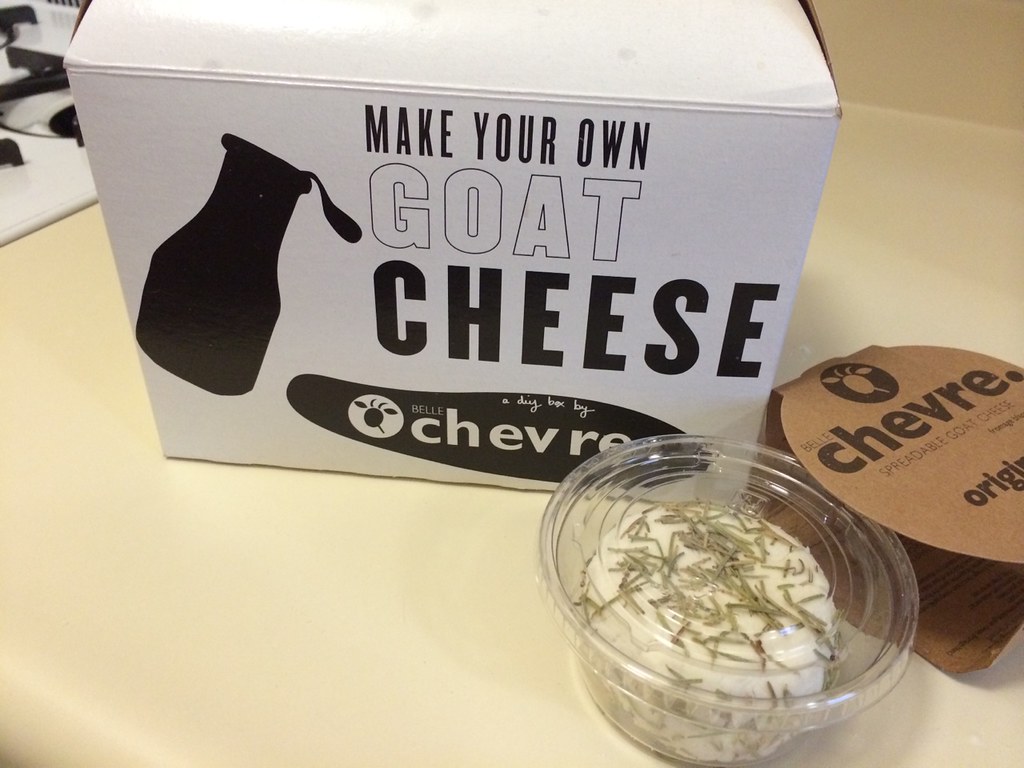
Over the weekend we tried our hands at being cheese makers. Armed with our kit from Belle Chèvre, http://www.bellechevre.com, we closely read the directions and took on the challenge. Something funny was that it advised cleaning your kitchen so you have all utensils and plenty of space, they must know the size of our kitchen. We knew it might take a whole day even though the directions said it was only 2 steps. Keeping all of this in mind we got started at 1pm.
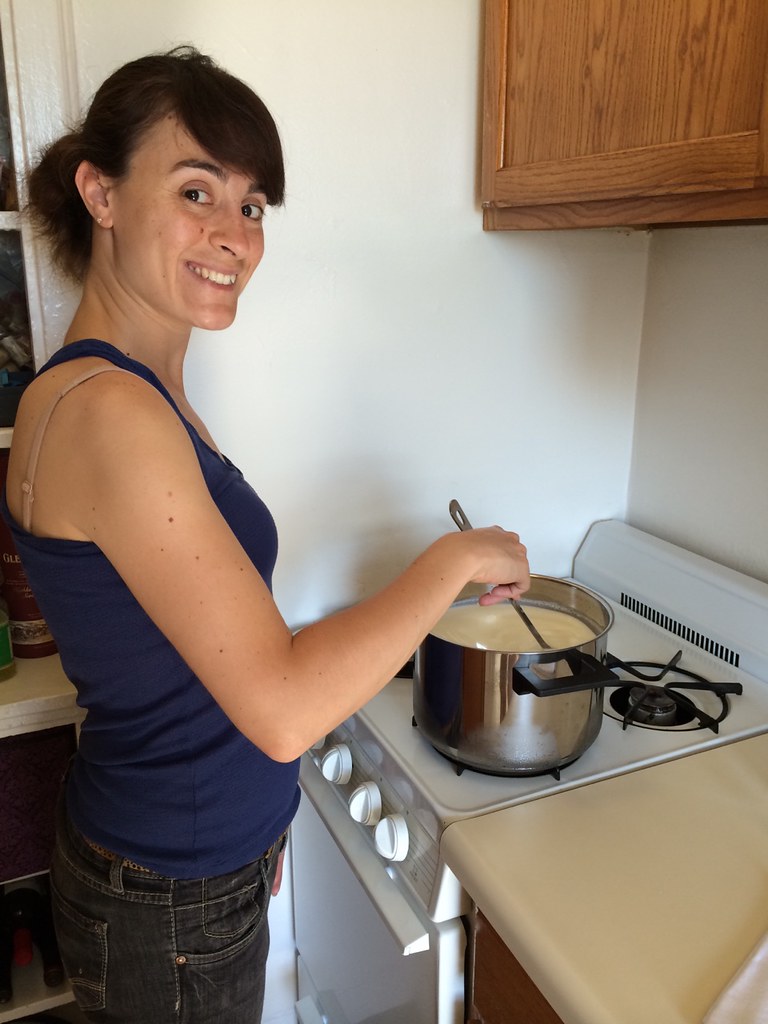
Step one: cook the milk and citric acid. It warned not to burn the milk and to stir until the temperature reached 185 degrees. I took the first leg of stirring while Neil carefully poured 4 quarts of milk into the pot. We were happy to find out our pot was large enough, that’s a lot of milk! Neil took over stirring and then I had another turn, by then I was ready to be done stirring. Total time, 45 minutes. We did overshoot the temp a bit, but only by a few degrees. Then we let it sit for 15 minutes.
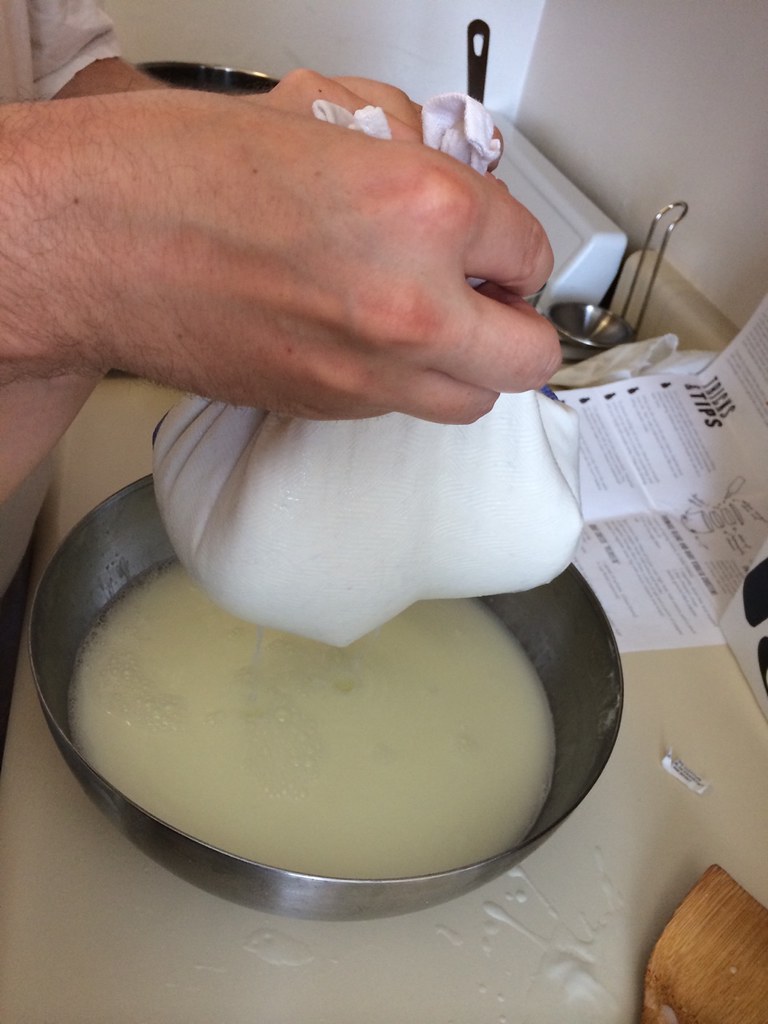
Next up, pouring the hot milk over the cheese cloth! This was definitely the hardest part for us. On the first try, we weren’t convinced we caught enough curds in the cloth, so we poured all the liquid back in the pot. We tried again but didn’t feel like four hands was enough to catch the curds and then tie up the cloth. What about clipping the cloth to the bowl to act as a fifth hand? That did it, so we had the cloth all tied up and ready to drain. In case you are keeping track of time, these shenanigans took about 40 minutes.
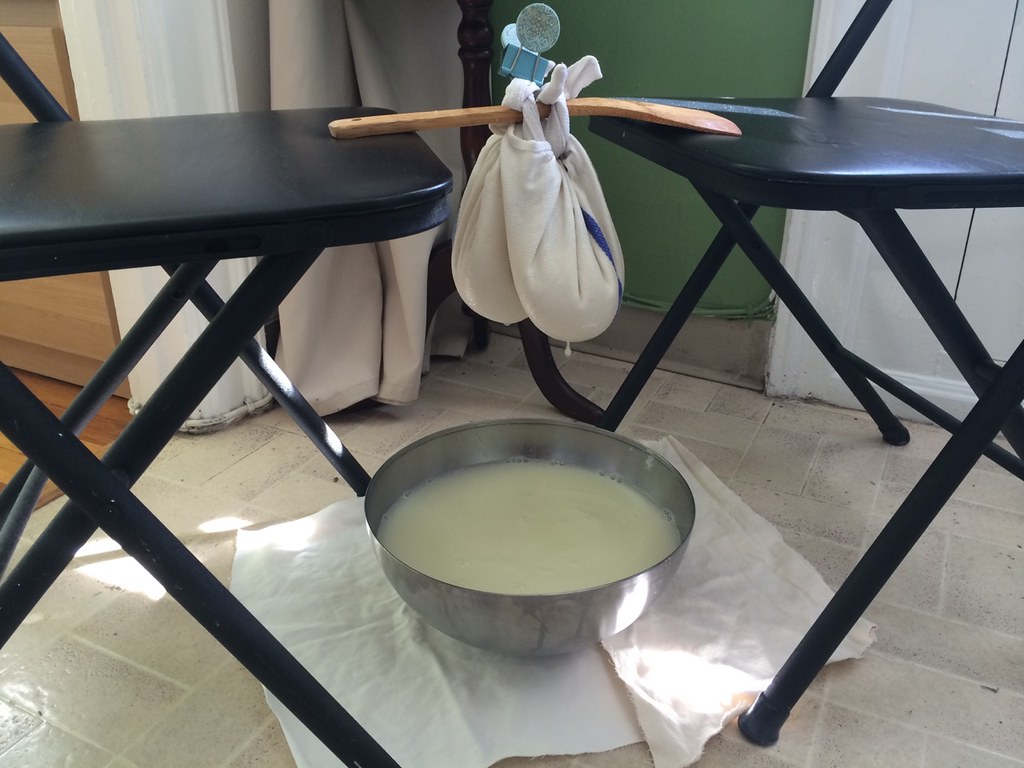
Step two: drain the curds over the whey bowl. The directions suggested at least 2 hours but half a day of draining would be better. Not really sure how long half a day would be, so we gave it 3.5 hours.
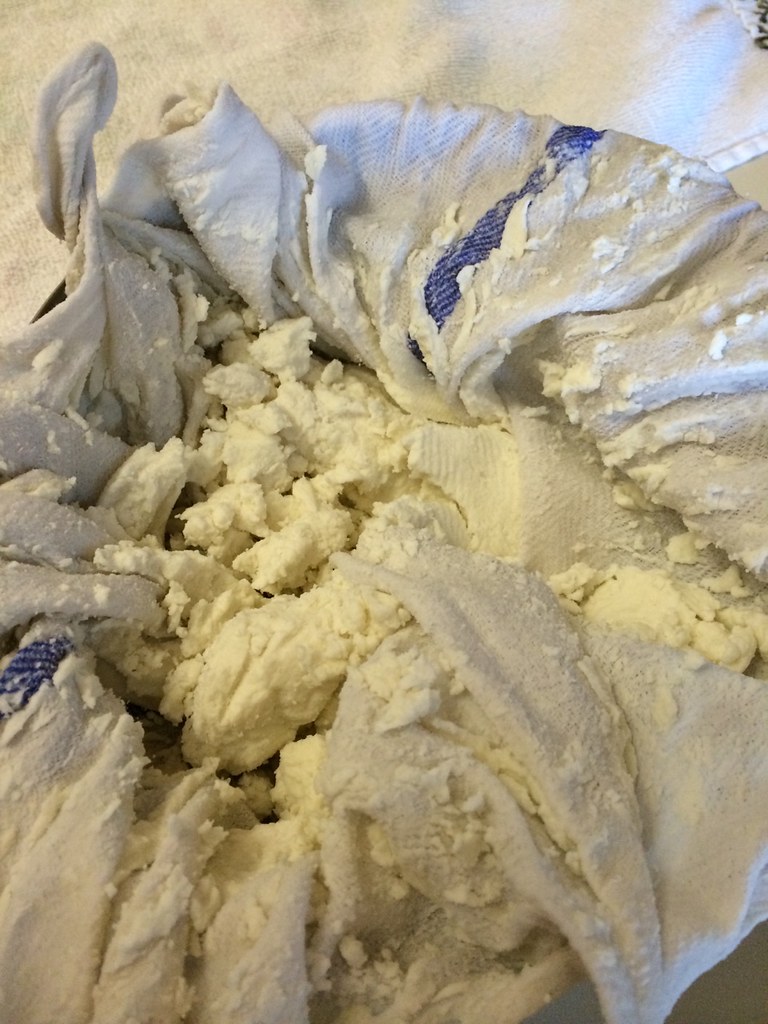
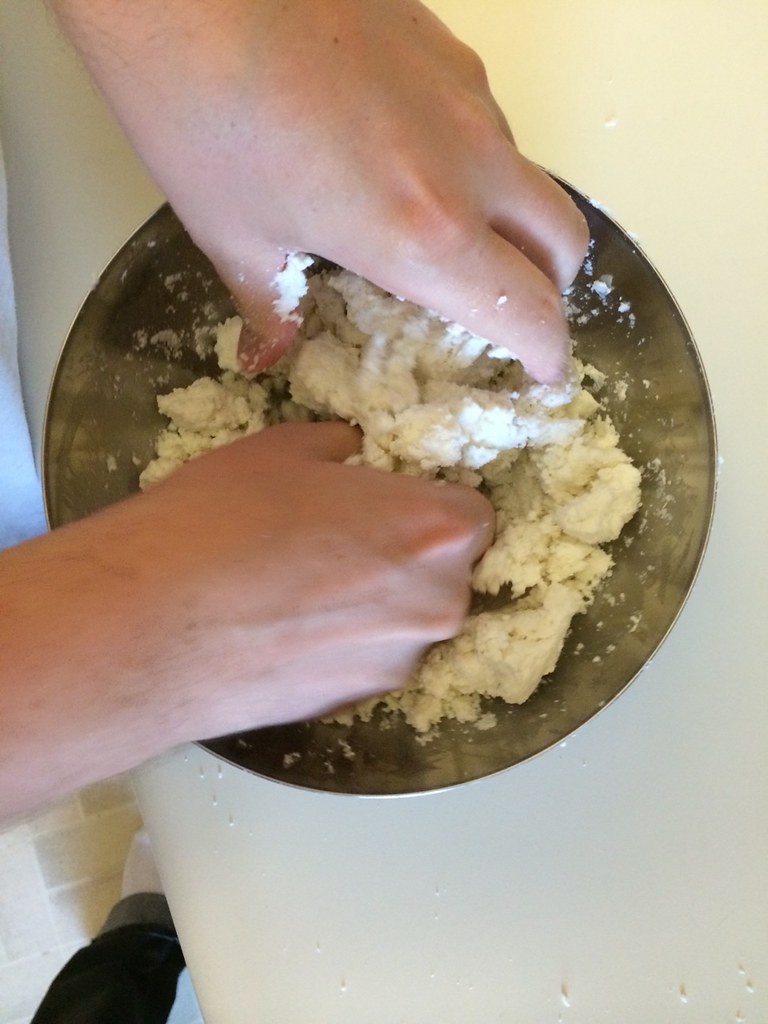
As directed, we squeezed out the remaining liquid from the sack before excitedly opening it up to see our cheese. What remained was a dry, powdery, white substance that we transferred to a bowl. Last step was to add the salt. Neil volunteered to get his hands in the cheese and mix it up.
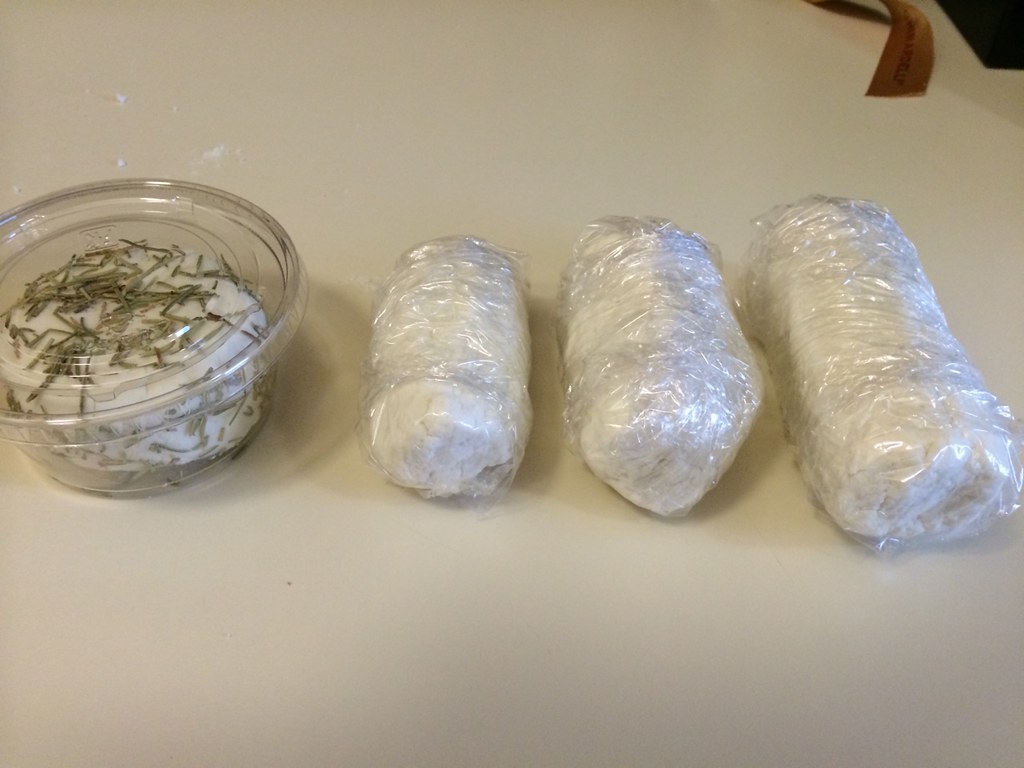
Final part, forming the shape. Neil grabbed a handful of it and carefully shaped it into a a drum shape, then dressed it up by adding some dried rosemary. Let’s hope our friends like it tonight! There was even a container provided with the kit, so you could share it. For the rest of the cheese, we chose to make logs. “Rolling” this crumbly mixture didn’t really work, so I just gently formed it into a log shape.
Once all was said and done, it was 7:00 and time to head to our friends house. I’m not sure that I would describe this recipe as only 2 steps, maybe four or five. We had fun creating our own cheese and have extra supplies if we want to try it again!
And I’m sure you’re wondering how it tasted? Our friends said it definitely looked like chèvre but was a little dry. Maybe we got a little overzealous draining out the whey. Don’t worry we’ll give you more details about the flavor, but you’ll have to wait until next week’s Wine and Cheese Friday.