Making Goat Cheese with Lexi and Alex
As you may remember, Neil and I made chèvre about a year ago and dazzled our friends. (https://wineandcheesefriday.com/making-goat-cheese/) Since I am visiting my niece and nephew in western Massachusetts, I thought I would share the fun with them. The kit we purchased from Belle Chèvre (http://www.bellechevre.com/) had more than enough supplies remaining from last time so we just had to find some goat milk. This did prove to be a bit challenging but luckily there was a Trader Joe’s to pick up our last ingredient.
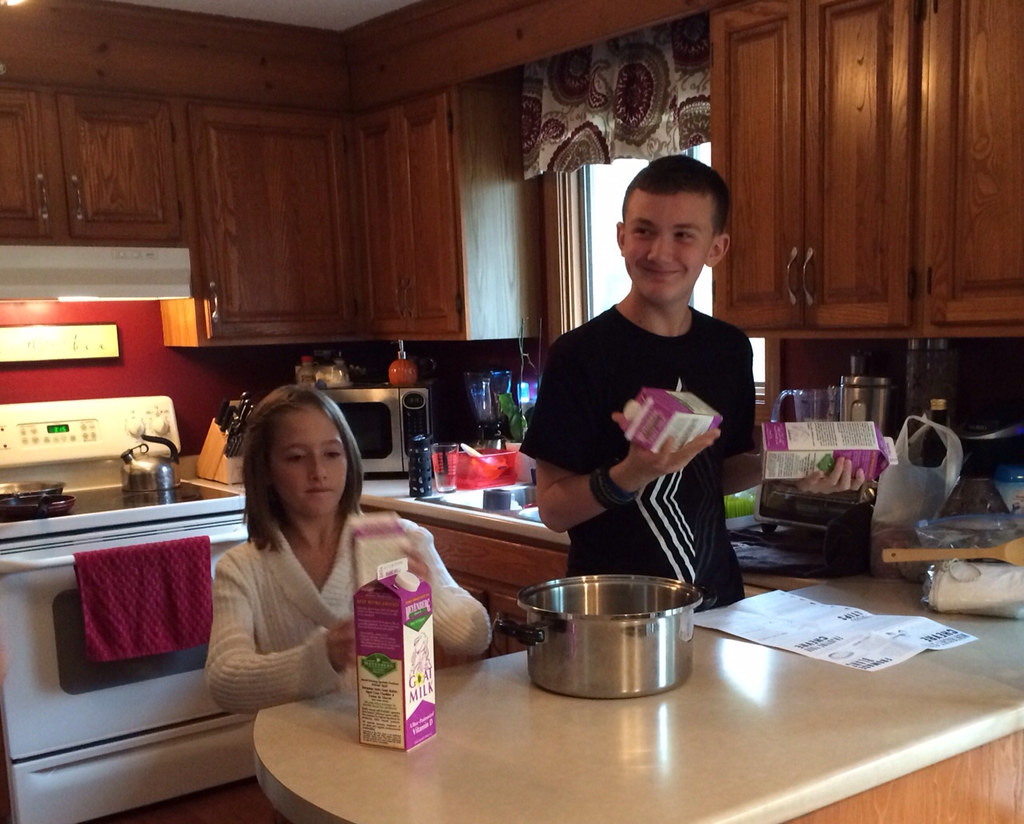
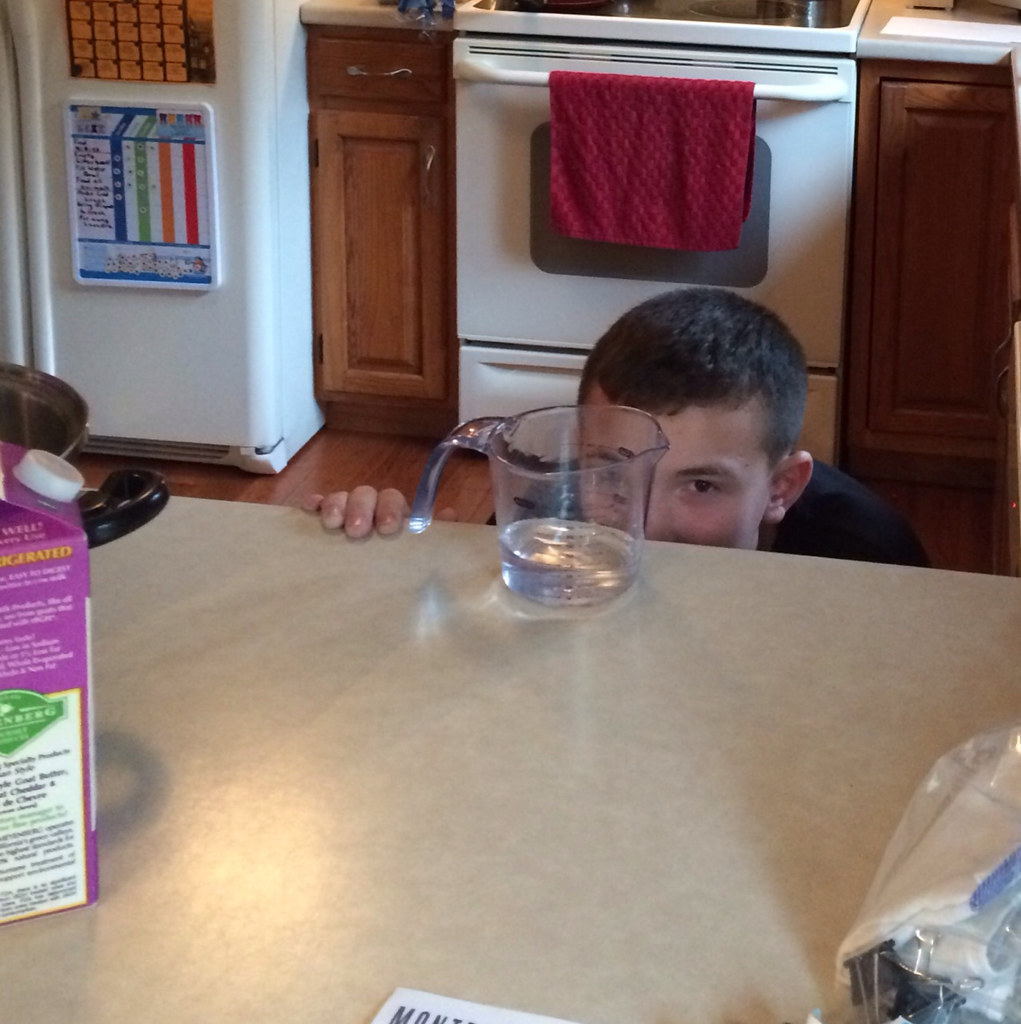
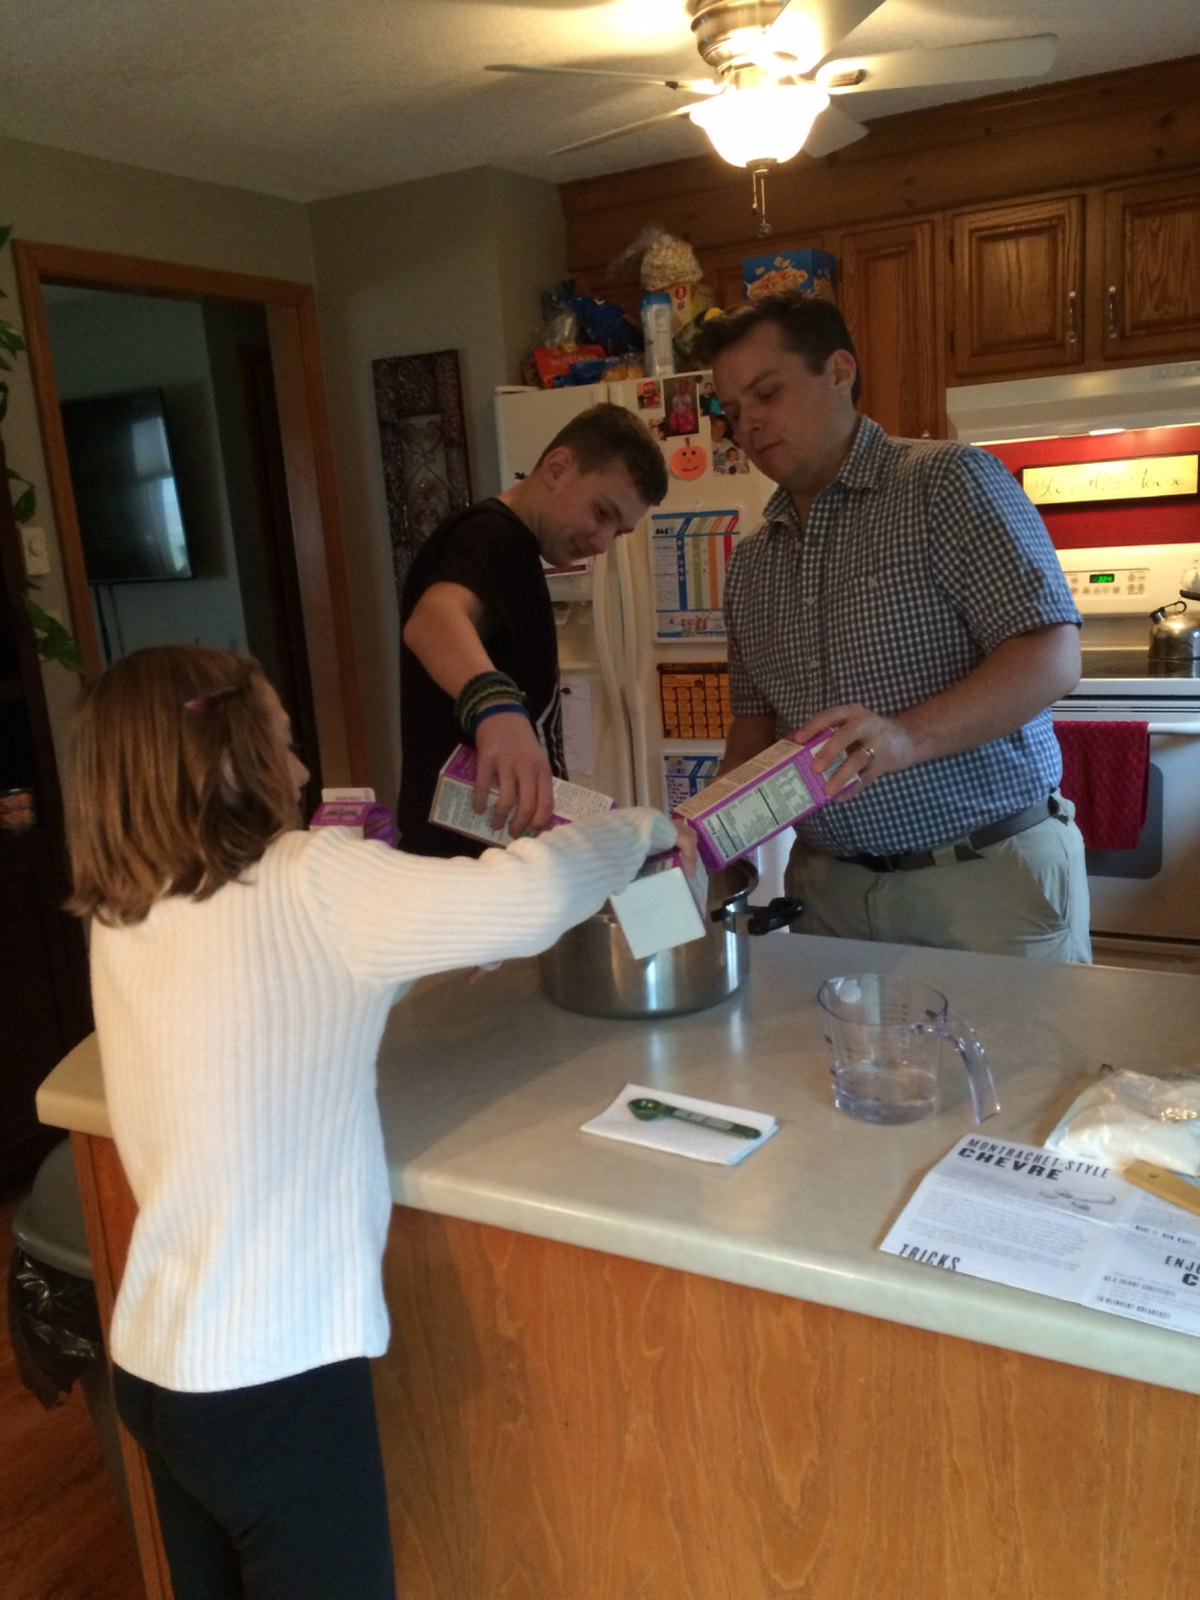
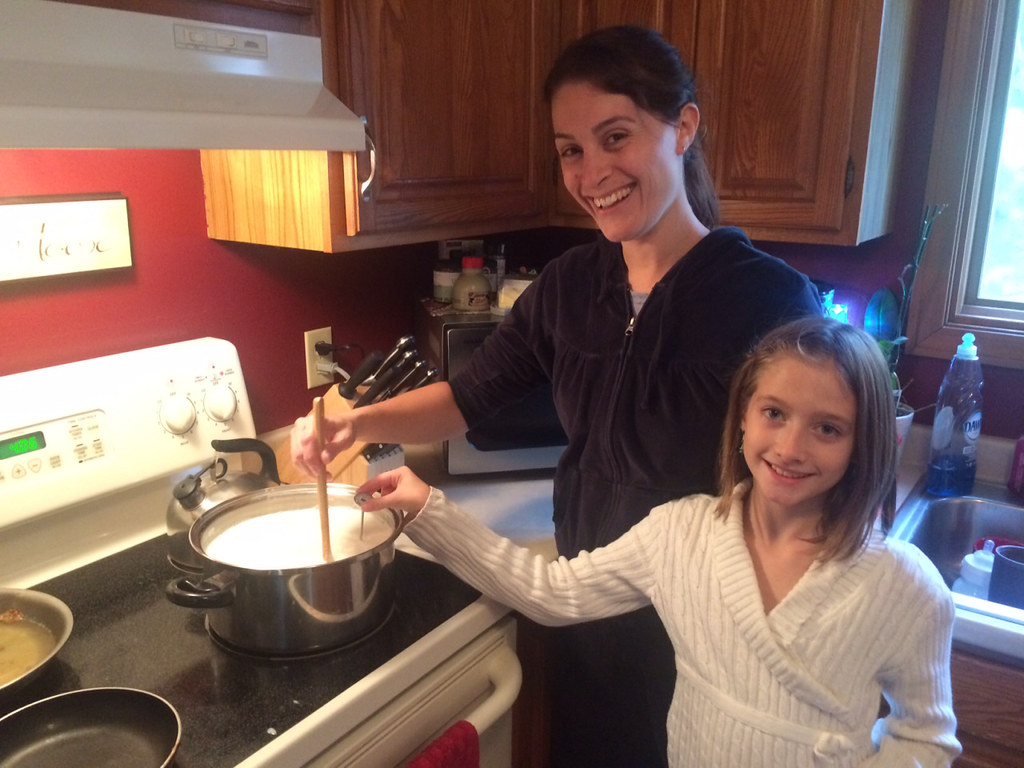
We started right away when the kids got home from school, so we’d have enough time to finish before bed. The kids had fun measuring the citric acid, shaking the goat milk and then pouring it all into the big pot. After a few minutes of stirring, the temperature was still at 50F so we decided to turn the heat upto medium. Our goal was to bring the temperature upto 185. As a way to keep the kids interested, we decided to measure the temperature every few minutes and record it to see how high each of us got the temperature to rise. It took about an hour to heat the milk while gently stirring and recording 50, 52, 66, 80, 90,106,124,140,150,158, 160, 172,180, and 185F. Thank goodness we all took turns stirring!
During the 1 hour time frame we also had a little “cheese history” discussion. Neil brought up how cheese was first discovered in a baby animal’s stomach. Since food was scarce in these days, it was important to use the entire animal after it died. The person saw the mother’s milk inside the stomach that had curdled from the digestive enzymes and decided to taste it. Seems kind of gross when you put it that way but cheese is still made from this same complex of enzymes called rennet. The kids then asked, “So cheese isn’t vegetarian or vegan?” What a great question! We let them know that there are some coagulative enzymes produced by plants for those people who prefer the vegetarian lifestyle. The coagulating agent we used was citric acid.
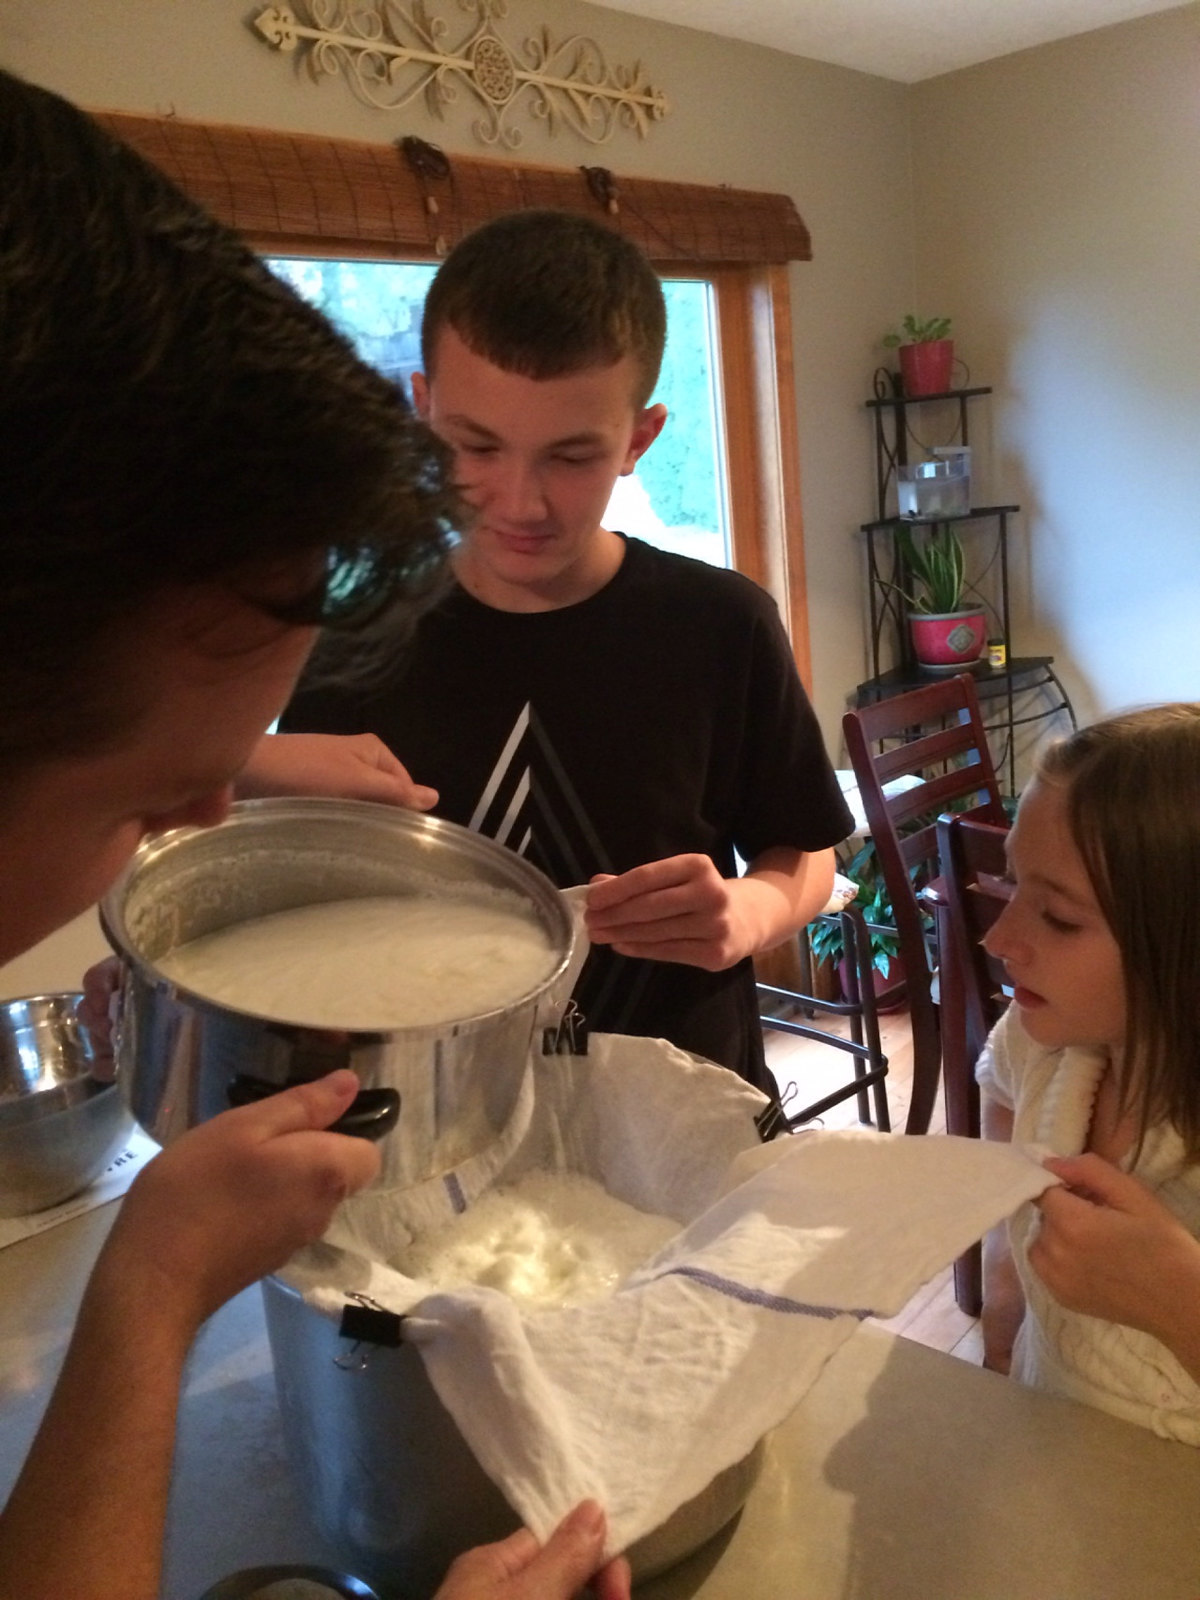
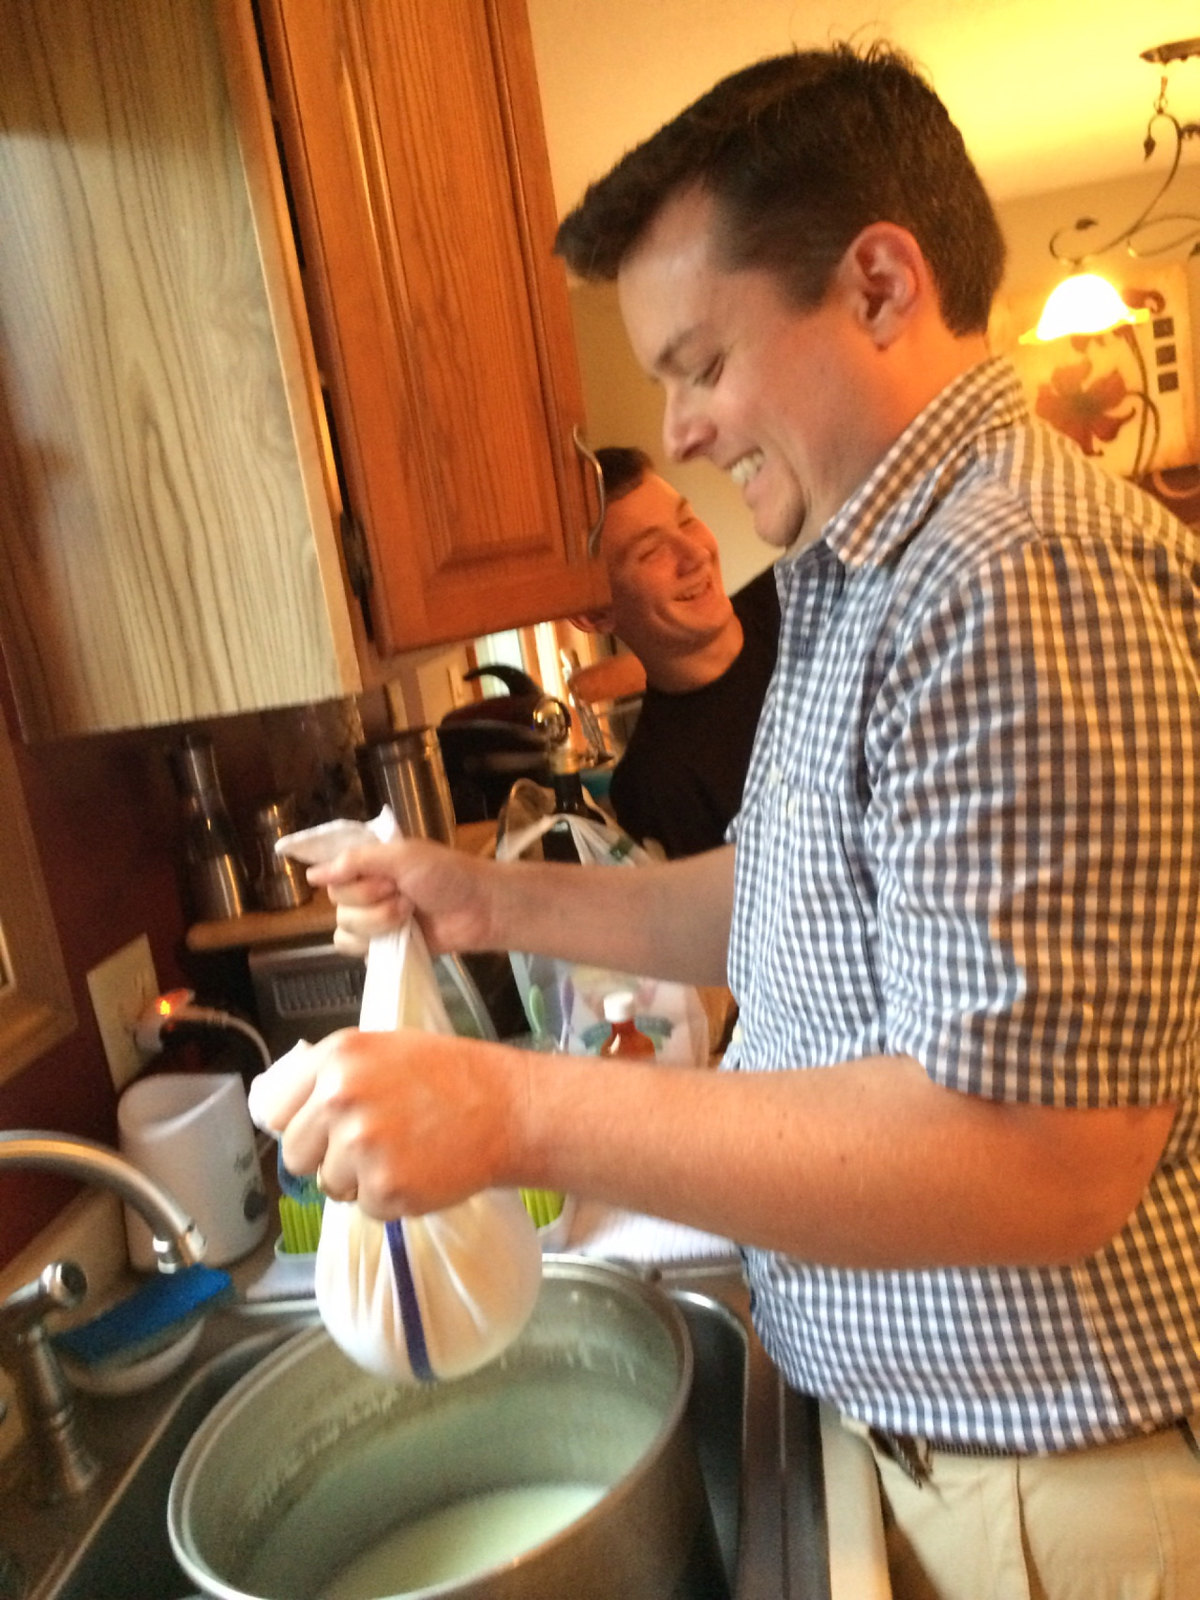
Then we were ready to pour the milk over the cheesecloth. Neil and I remembered this part being especially challenging last time but this time we had 4 people and experience on our side. We clipped the cloth to the bowl so we could start pouring and “catch” as many curds as possible. This method worked pretty good but all four of us were actively involved to do it. One note of safety, the milk is super hot at this point, so everyone needs to be careful when gathering up the cloth to tie it. Even with our previous experience, we had a hard time with this step. If my estimation is correct, it took us around an hour. Phew!
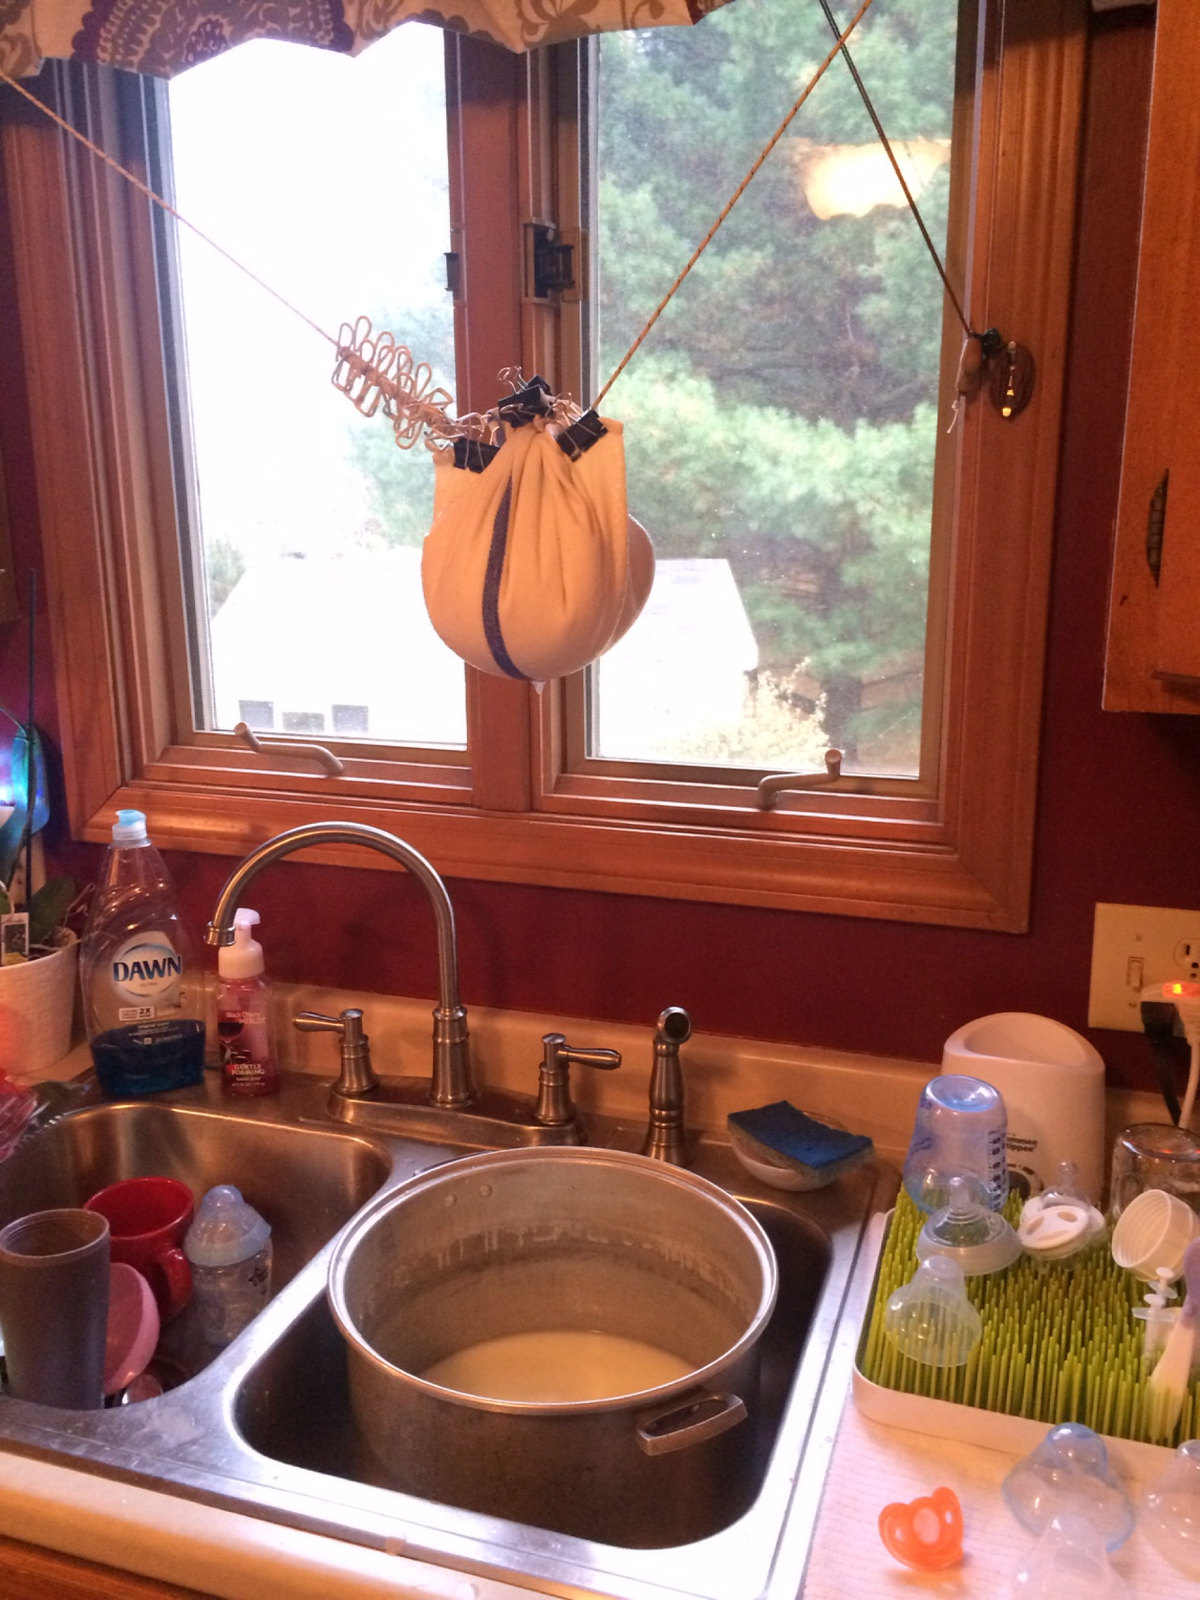
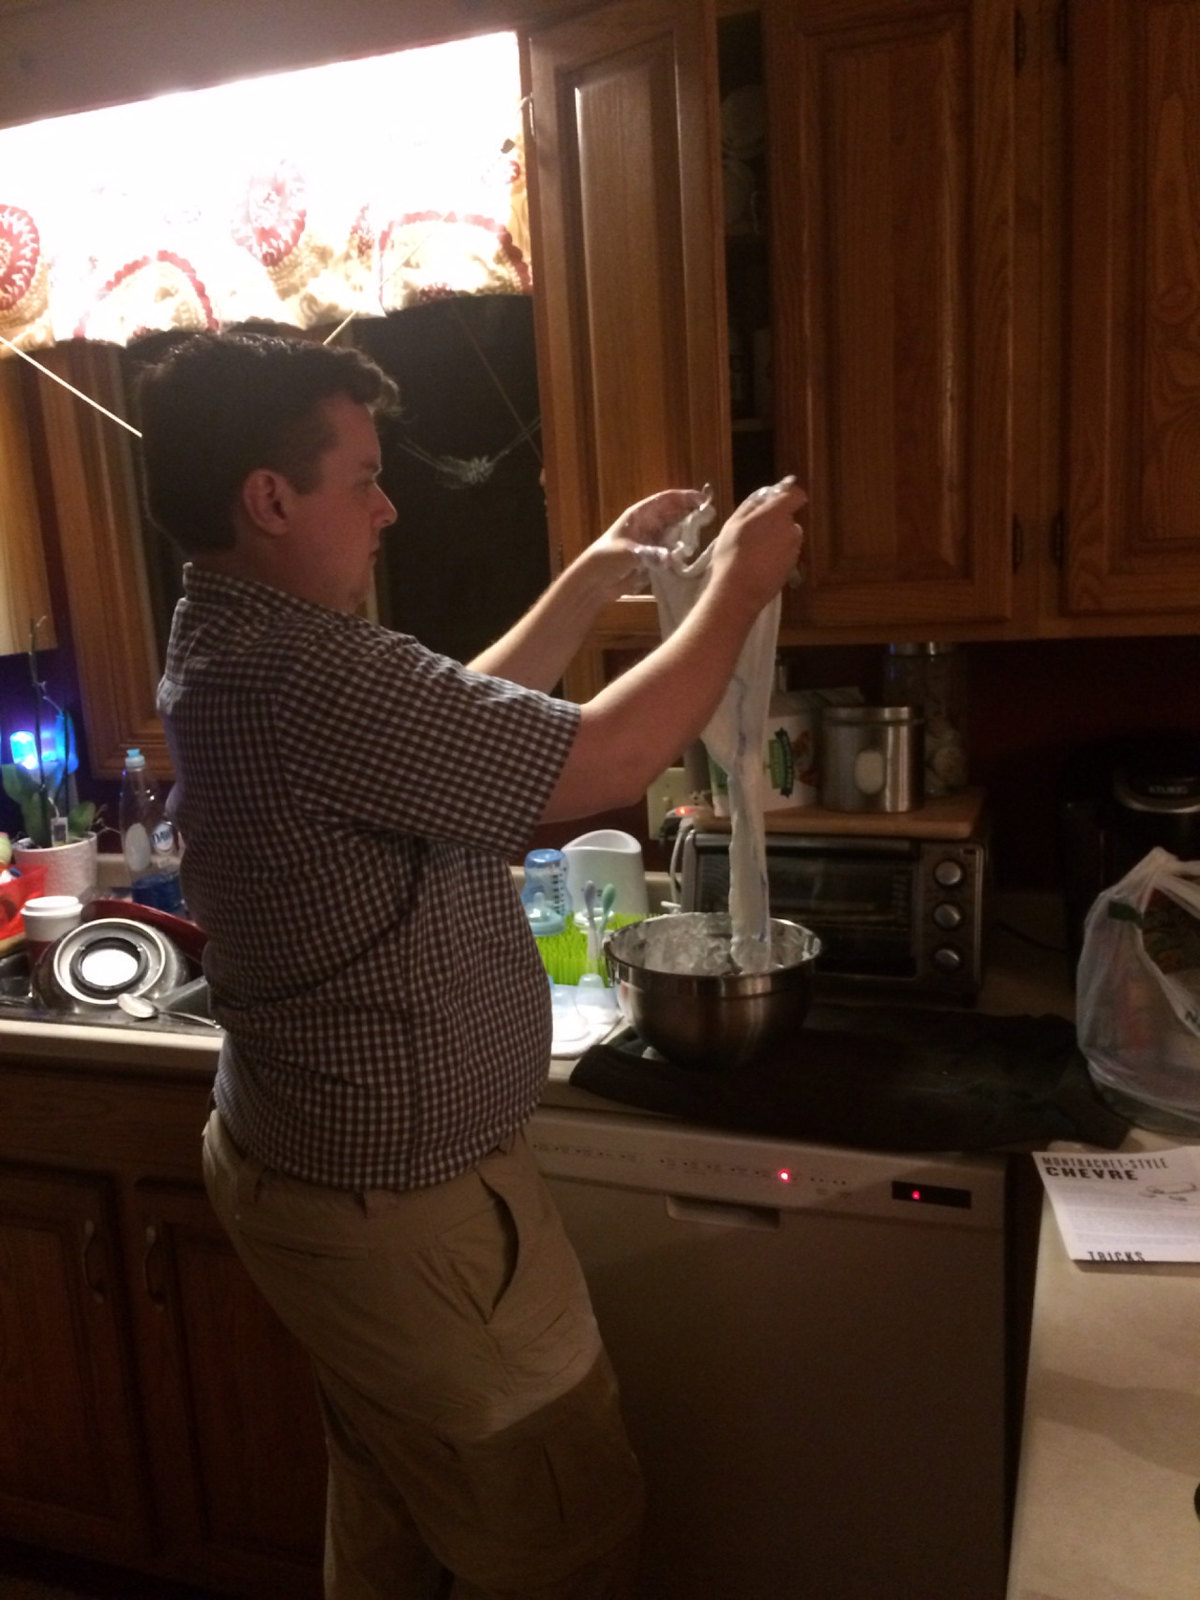
We came up with another idea to hang the sack over the sink so it would be out of the way while it drained. You don’t have to imagine how ridiculous this looked, because we have a photo. Last time we drained it for 3.5 hours but it came out dry so we figured we would wait maybe 2.5 hours this time. As time passed by we kept looking at the sack and wondering why it seemed like there was still so much liquid in there? We attempted to squeeze it out but that only seemed to make us lose cheese out of the top. Bedtime was quickly approaching and it had been almost 3 hours so we decided to take it down and move on to the next step.
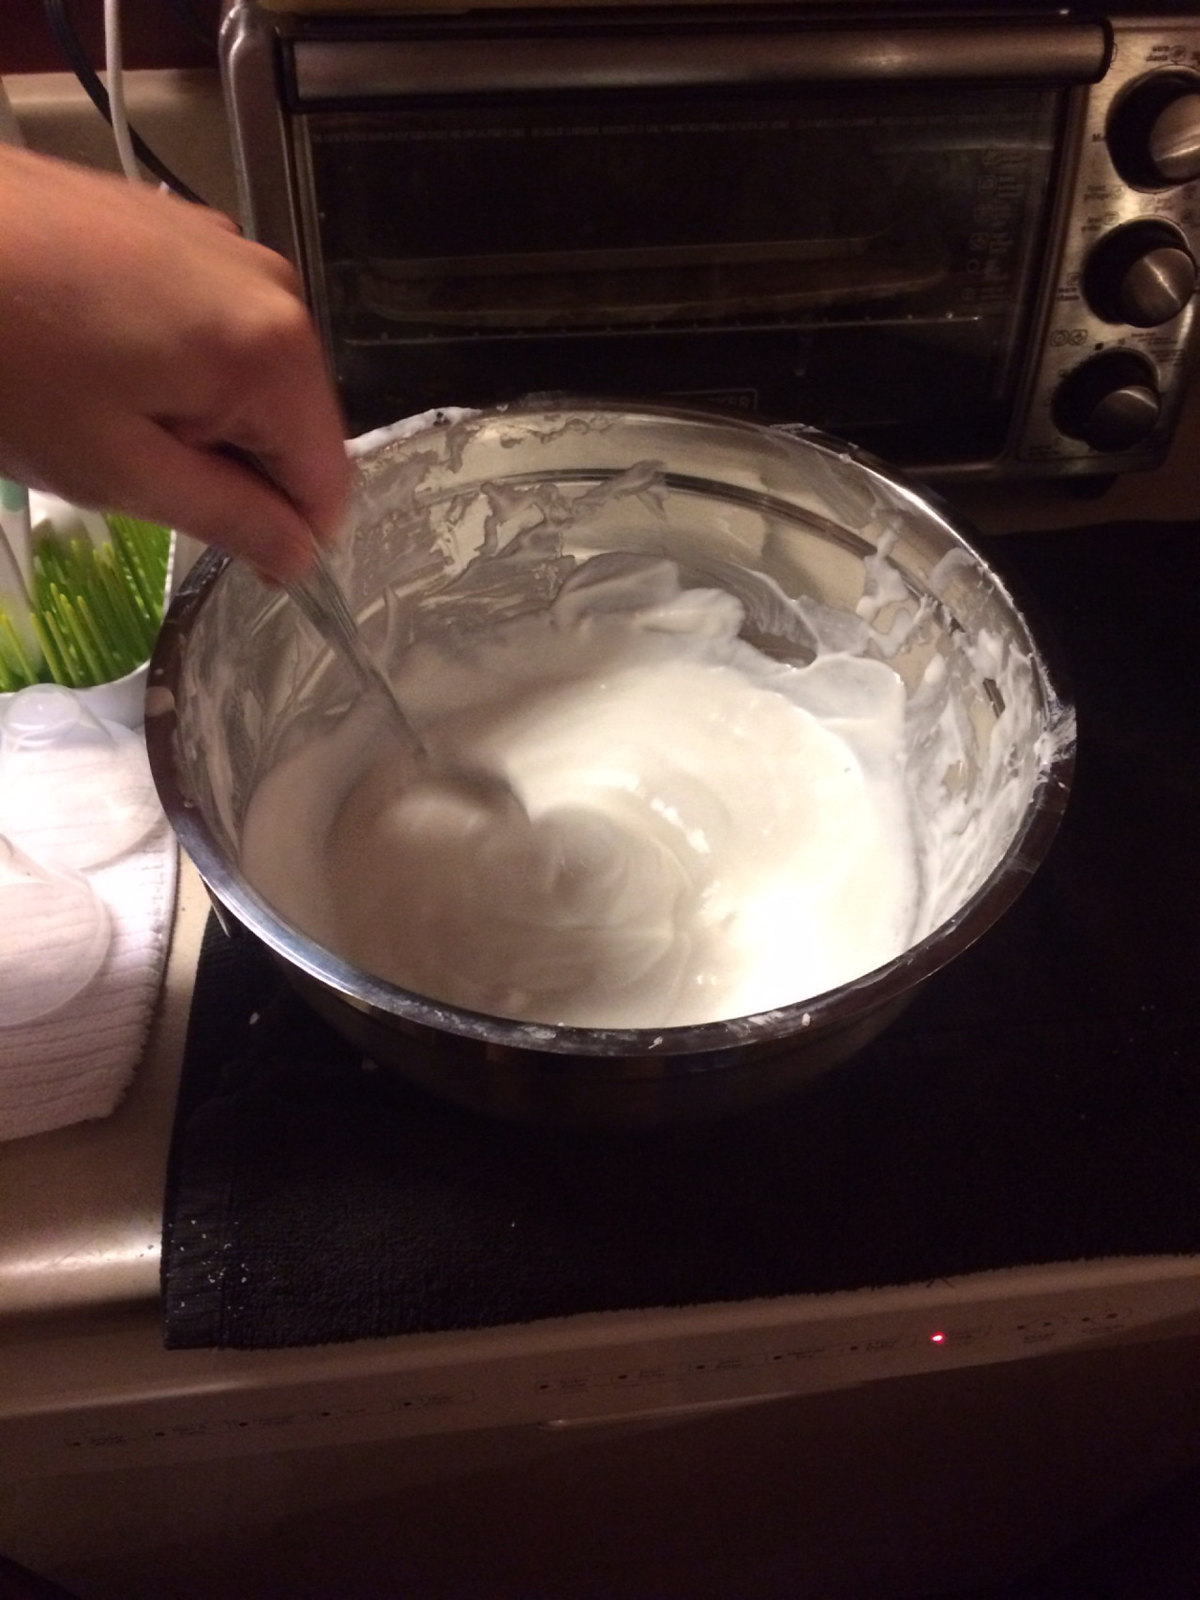
Neil called the kids back into the kitchen as he was dumping the curds into the bowl. They were definitley much wetter than we remembered. We wondered if maybe the cheese cloth wasn’t as porous this time? or maybe the citric acid was not fresh enough? Our final step was to add the salt and since we enjoyed the 2 tsp last time, I figured that would be good for this time too. Neil tasted it and thought it was really salty at first but I thought it was fine.
Due to the texture of the “curds”, we couldn’t roll or form the cheese. This was kind of disappointing until we read the directions again and found out that our project came out more like “fromage blanc” than “chèvre”. Ok cool so we just made a different cheese this time! The kids eventually tried the creamy mixture, after some convincing. They both said it smelled bad so they didn’t want it but once they tasted it, it was ok. We also came up with the idea of spreading it on a cracker and adding some jelly. This seemed to be a better option.
We plan to use this cheese in a future WineAndCheeseFriday so we’ll see how it turns out after setting for a few days, who knows, maybe it will even be more like chevre? The kids did have fun and both thanked us for doing a project with them. We thought it could even be done again as a science project. What a fun option!
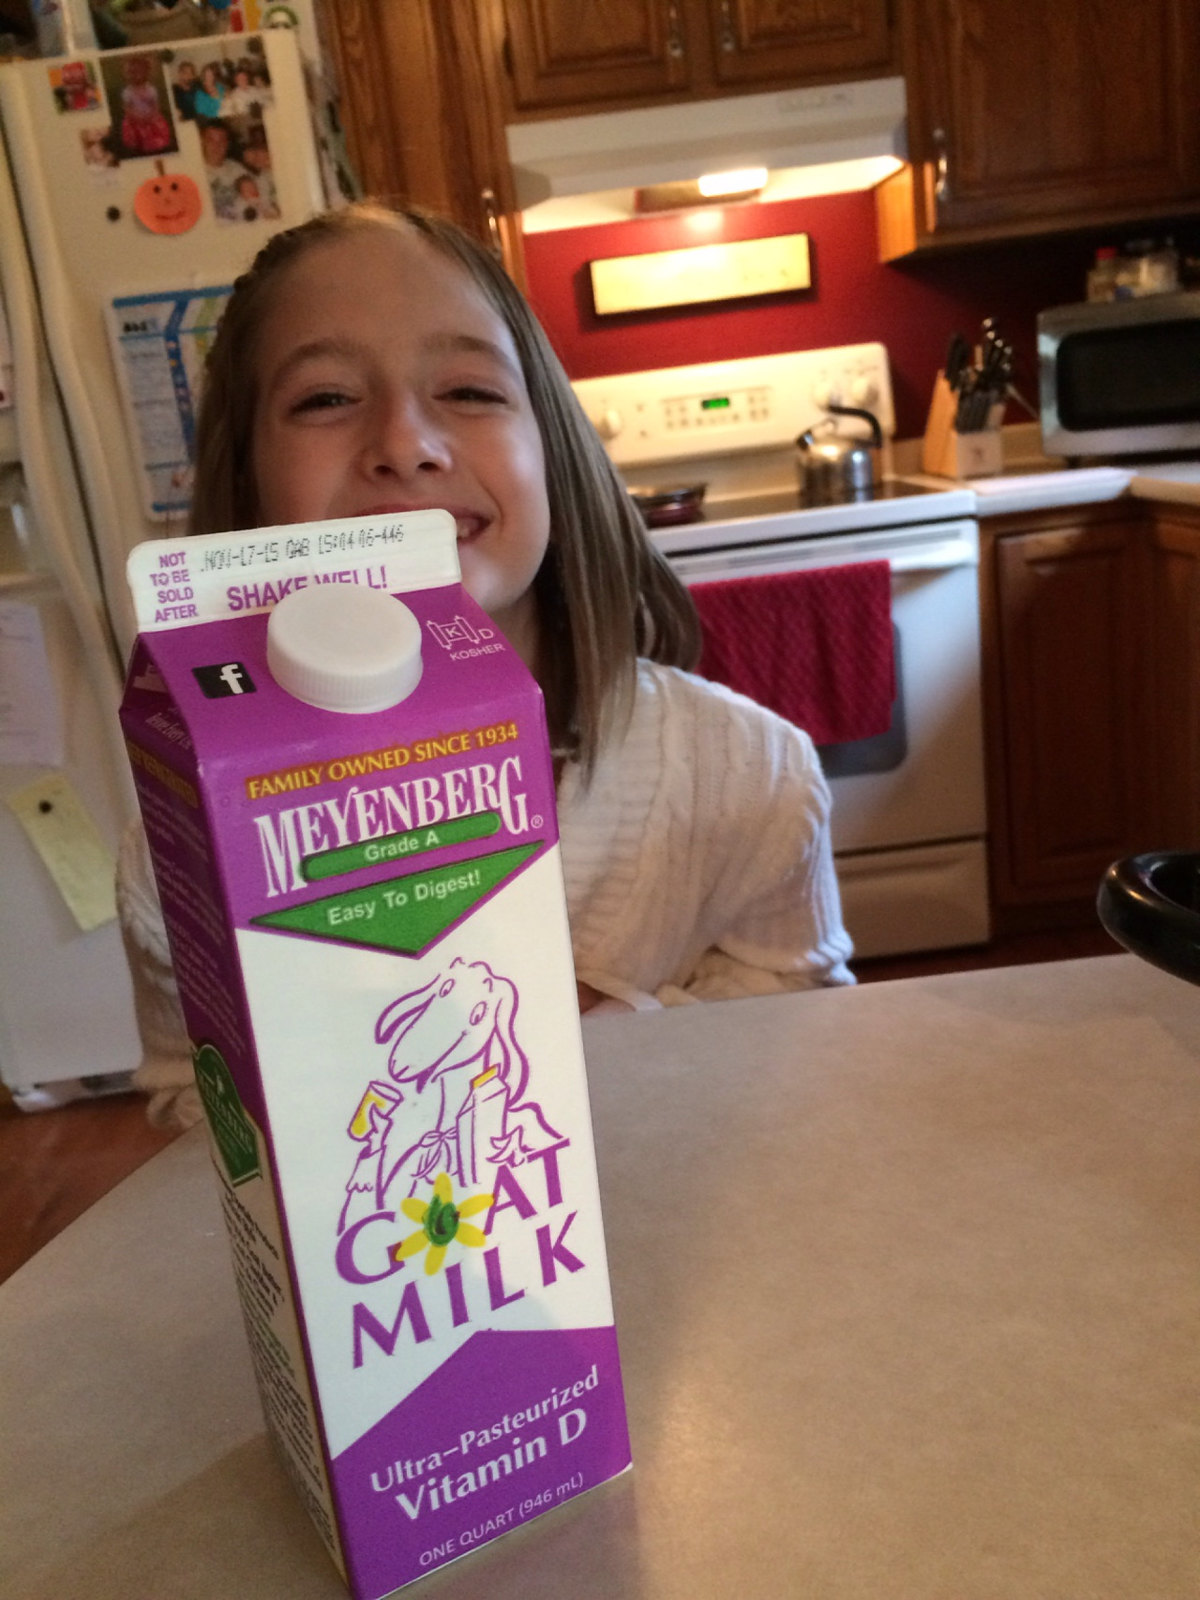
Note: After writing this entry up, I was reviewing the tips & tricks provided by Belle Chèvre and I noticed, “do not use ultra-pastuerized milk.” Well that is probably our answer for why it came out so creamy, maybe the original texture of the milk was different.