Making Cheese in Hawaii
Neil and I have both made cheese before but who would pass up a chance to go to Hawaii for a Cheesemaking Retreat? We first made cheese from a kit we purchased online and it came out great, https://wineandcheesefriday.com/making-goat-cheese/. Our friends didn’t even believe it was handmade. The second time we used the kit, the results weren’t so spectacular so we took time off from making cheese.
A few years later we traveled to Colorado and found a cheese school. Since we love to learn and obviously love cheese, we gave it a try again, https://wineandcheesefriday.com/introduction-to-hard-cheeses-at-the-art-of-cheese-in-longmont-co/. The cheese classes were taught by The Art of Cheese and I was able to take two more courses during our time there. It was pretty cool to learn the process involved in making cheese and then get to age my own cheese at home. Unfortunately our travel lifestyle makes it a little difficult to have any other recent cheese aging experiences at home.
When we got the newsletter from The Art of Cheese advertising a Cheese Retreat we knew this would be just the event for us! We could make cheese again, eat the cheese, and meet new people. Let’s not forget the draw that it would take place in Hawaii.
The schedule showed a beginner class and two intermediate classes. Since we’d done it a few times, Neil and I signed up for the two intermediate classes. After hearing about the cheeses they made and then ate, I do kind of wish I had attended the first one too. Fresh cheeses are more the type of cheese I could make as part of our travel lifestyle. Maybe I should consider one of their online courses?
Since we were making cheese on location, Kate, our instructor had to bring equipment, ingredients (bacteria, etc) and all our tools from Colorado. Also we were making cheese outside so there was the added complexity of dealing with the weather and fluctuating temperature and humidity to address. This wasn’t a problem for her though because she’s taught classes all over and was ready for the challenge!
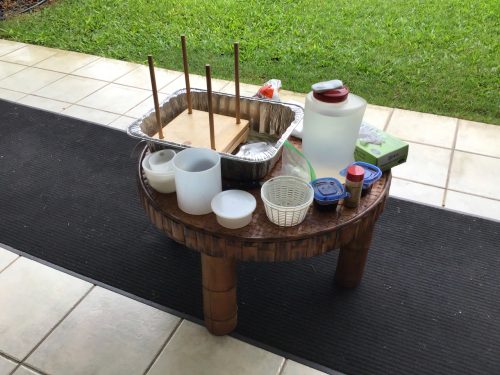
We attended both the Sea Salt Cheese and the Hawaiian Sunset Cheese courses. One of the main differences from when we took the classes at her farm was that we’d be using regular store bought cow’s milk to make our cheese in Hawaii. We referred to this as street milk and all got a little chuckle about it. Kate referred to it as sub-par milk but was able to have us add in a few magic ingredients to help it perform a little more like a farm fresh milk.
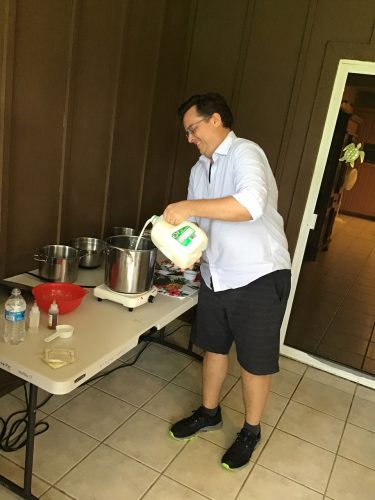
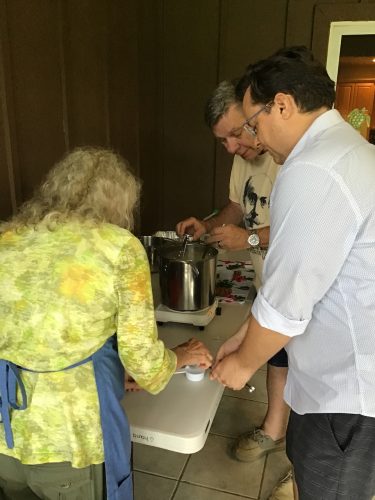
Any cheese making class begins with heating the milk. We broke up into a couple groups and began to warm up the milk on the hot plates. Both classes we were teamed up with Dan, an experienced home cheese maker who had been learning online with Kate through the pandemic. Each recipe requires a different temperature but we had those listed on our paperwork. Once you get to your desired temperature you’ll add the bacterial culture.
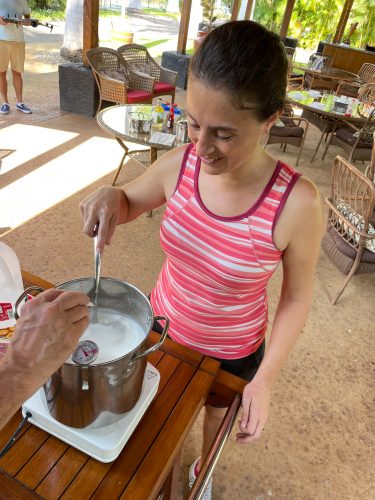
Kate taught us about how you choose different bacterias depending on the target temperature level or the flavor you are trying to achieve. I found it interesting that the Hawaiian Sunset cheese actually called for two bacterial strains. This was so that one would be active at one temperature and then die off while the other bacteria would continue working. And if you’re wondering about what the bacteria’s job is, well it’s converting the lactose in the milk to lactic acid. This is one of the reasons cheese can stay fresh on the countertop and doesn’t always need to be refrigerated. After all, cheesemaking began as a way to make your milk last longer!
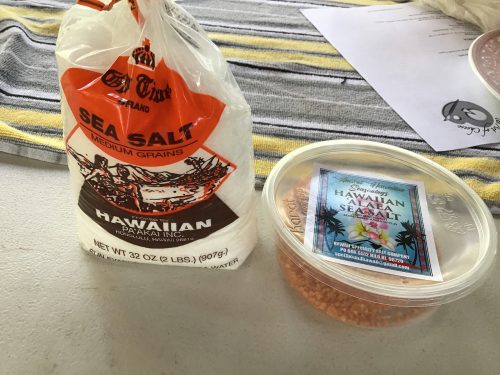
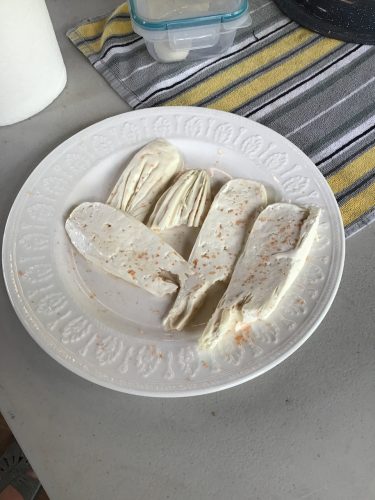
One of the cheeses we made in the Sea Salt Cheese class, called Primo Sale, has a little different process than the others. This cheese had you add the salt first (which is the Italian translation of Primo Sale) before the culture and directly into the milk. In other cheeses you salt the cheese towards the end of the process. Also since we were taking a class focused on salt, we learned that our Feta cheese would be dry salted instead of with a brine. If you’re not familiar with the term of dry salting, it just means that the salt is sprinkled onto the cheese once it’s already been shaped into a ball. The salt soaks in, the cheese dries out a bit and then you can eat it.
Ok so back to our hot milk that had the bacteria added. Some recipes have you let the milk sit to have the bacteria do their work and others need to be heated a little more. Either way, you’ll need to add the rennet after that. Rennet is the enzyme that causes the curds to start forming, and comes in either the standard version or you can use the vegetarian option. If you use the vegetarian one, you need to cut your measurement in half from the recipe as it’s more concentrated. There’s also other considerations with how much rennet to use if you’re using goat or sheeps milk. Be sure to reach out to an experienced cheese maker when you are first looking at your recipe!
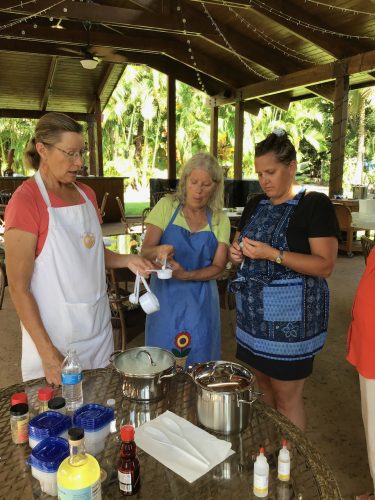
We mentioned that since we were making cheese outside there could be some complications. During both classes, there was an issue at this step. The pots of milk weren’t producing a “clean break” after the rennet did its job. Luckily though, we just gave it more time to work it’s magic and then it worked. It was just running on island time.
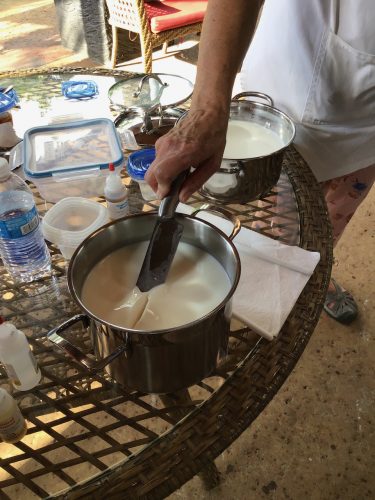
Once the milk starts to solidify you can cut the curds with a long knife. You may also need to cut them horizontally with a spoon depending on the cheese that you’re making. I think everyone in both classes got excited about watching the strips of cheese curd wiggle around in the pot. It’s the simple things in life!
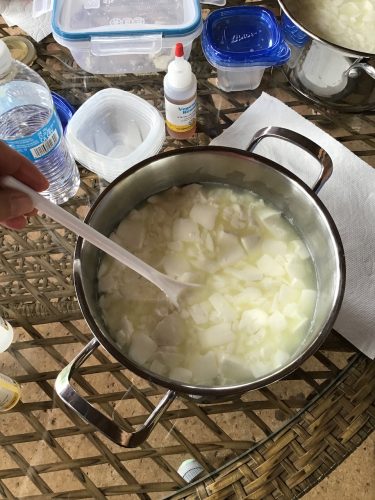
Over time, either with or without heat the curds will separate into a solid and a liquid. The liquid, called whey, will be drained off to leave you with those squishy cheese curds. One of the things Kate said during the class is that “cheese makes milk smaller”. This step is where that statement really makes sense! How cool, I had never really thought about it that way. She said the curds are typically only 1/8 the volume of the milk!
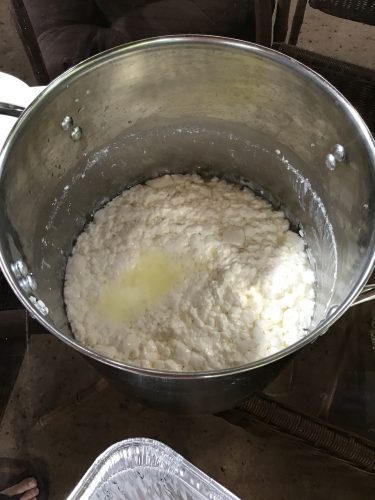
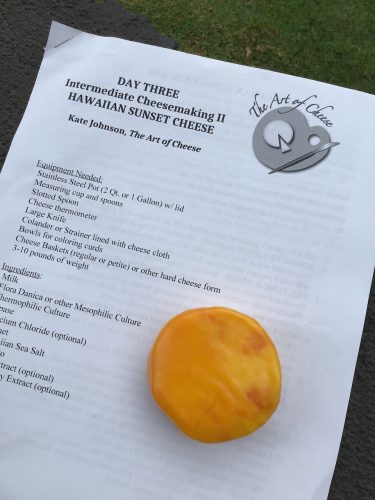
Since we made Feta, Primo Sale and the Hawaiian Sunset Cheeses, the way you shape the curds was pretty different. When making Feta cheese, you scoop your curds into a fine cheese cloth and hang it up so the remaining liquid can drain out overnight. The Primo Sale curds would drain in a little plastic cheese basket for about 10 minutes and then they could be flavored with spices and loaded back into their cheese basket. The Sunset cheese gets its name from its colorful design. You can achieve this by coloring your curds before you press them into a form. These colorings can be made from beets, blueberries or using a food additive called annatto. Once your curds are pretty, you layer them into a cheese form that will need to be pressed.

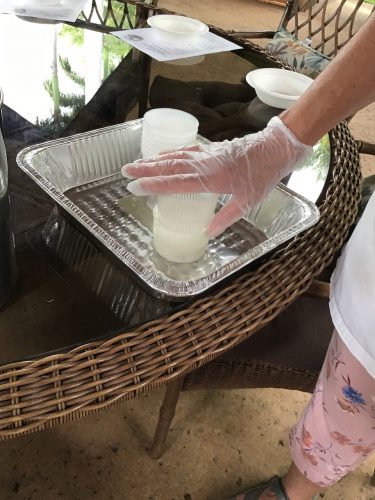
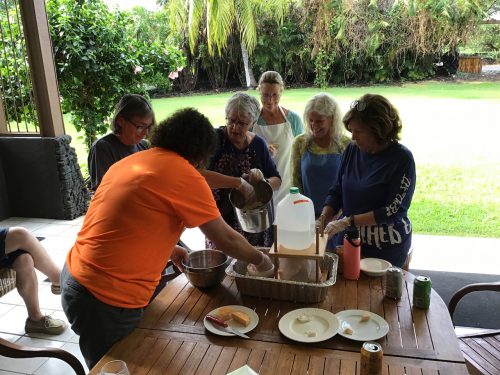
The amount of time before these cheeses can be declared ready will also vary. Out of our three that we made the Primo Sale takes the least time. It was ready the next day to enjoy at breakfast. The Feta requires a couple days of flipping, salting, drying and aging. The Sunset cheese needs more equipment as it will be pressed into shape using weight.
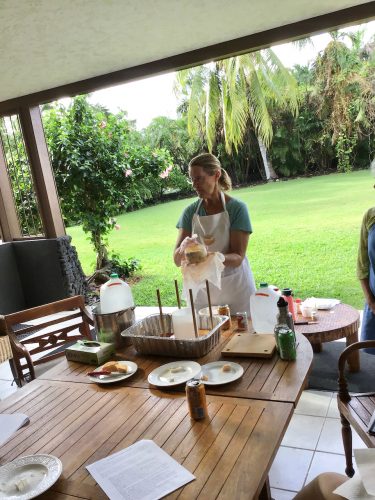
In order to see all the processes and stages of cheese making, Kate had prepared some advanced samples of each. This is a great way to be involved from start to finish when you are only in class for a few hours. We even got to see the sunset cheese being brined once it was already hard enough to come out of the cheese press.
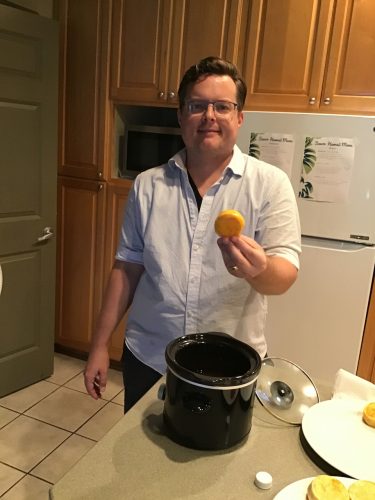
One of the other cheese making steps we were able to try out was “waxing the cheese”. Neil and I had done this in our first cheesemaking class with Kate but we got to do it again at the retreat. We’d add a few layers of food grade wax around the sunset cheese in order to help preserve it while it ages. The wax we used was orange and made a great finishing touch on this cheese! It was also super helpful that Kate had some small versions of this sunset cheese that she made and aged in advance so we could take part in this step.
A way of preserving your feta cheese is to marinate your cheese in oil. We’ve had cheese in oil before and of course it’s delicious, https://wineandcheesefriday.com/chardonnay-and-marinated-cheese/! Neil chose to put his feta in chili oil and I had mine in macadamia oil.
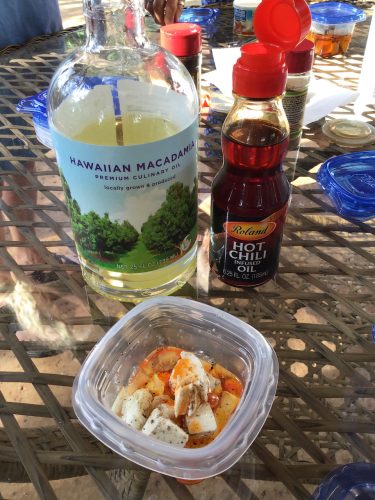
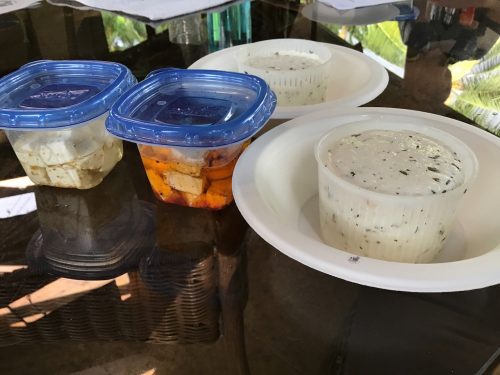
With any cooking class, the best part is that you get to eat what you make so we have some tasting notes for you too about each one. Although we had our own versions of the cheese in our room, Kate provided samples for all of us to try at the final class, so we got to save ours to eat whenever we chose.
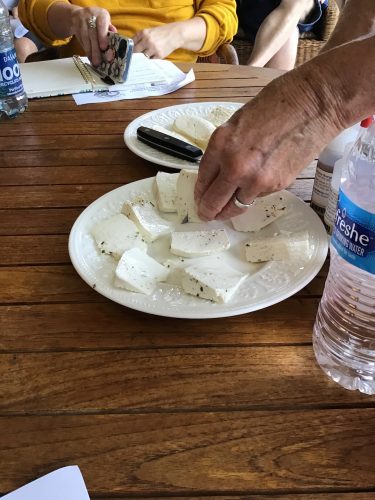
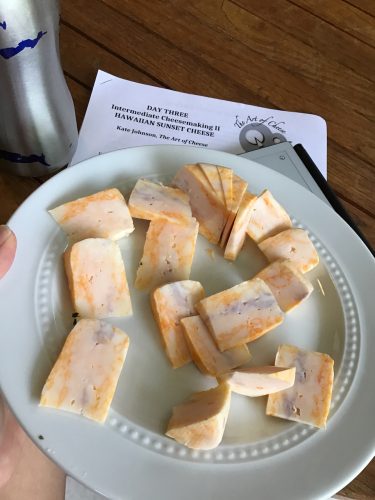
The Primo Sale was milky with a soft texture. When we made it, she did tell us that the milk flavor typically stands out in this cheese so that’s why it’s a cheese that she’d typically choose to use a high quality milk. The Feta had a harder texture than the first. I thought it tasted really good and didn’t find it all that salty. The sunset cheese had a funky aroma but a more mild flavor with a milky finish.
It was wonderful to be able to make cheese again! We were able to reinforce some of the skills we had learned before as well as get us excited about doing it again sooner than later. So glad we were able to take part in the cheesemaking portion of the Savor Hawaii retreat. And of course, we enjoyed the rest of the week too!
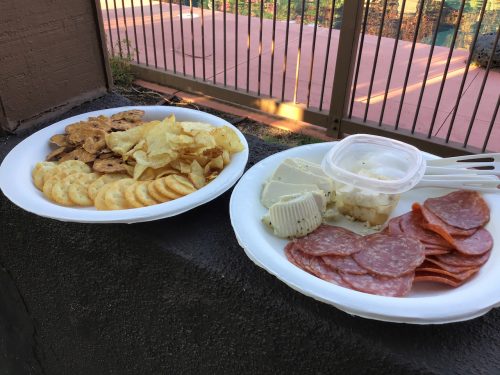
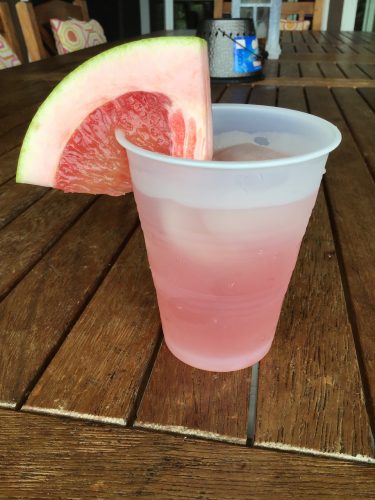
I’m sure you’ve guessed it but when we had a chance to try our marinated cheeses and primo sale by the pool, they were wonderful. And they provided a little bit to nibble on when we had some tropical drinks. Another very important part of any Hawaiian getaway!
